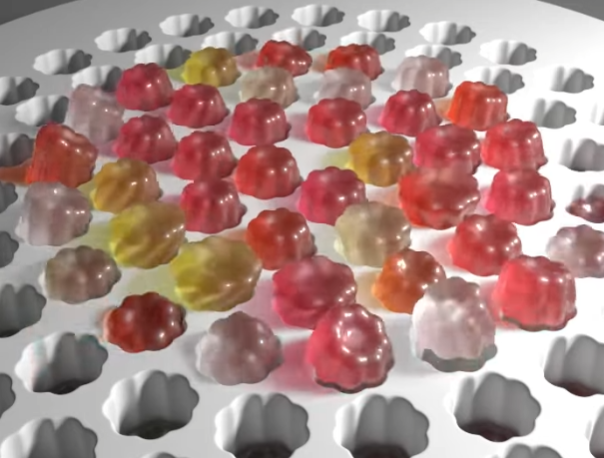
In the render there is a board with holes and the jelly blobs, but that’s just for show. The crux of this effect is a set of points which animate, and the blob which is copied to those points, following the motion.
The points look like this:

It’s just a resampled helix, with the primitives removed leaving points. There is a bit of attribute setup like a curveu, and normals, and then a vop where the frame range is remapped to 0-1 and used as a ‘wipe’ type of transition.
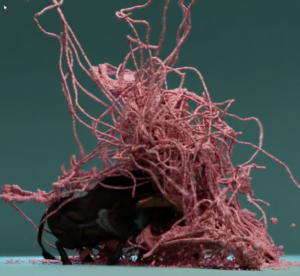
This results in very rigid animation as follows:
This is a bit “flat” or rigid-looking. It would be lovely if we could get a bit of overlap and more organic motion. Luckily, Houdini has CHOPs, a suite of nodes and a system for affecting channel values in a signal-processing kind of workflow. If you are into synthesisers or animation curves, you will see the potential! It is a fairly old system so some of the conventions are a bit clunky but it works great for many use cases.
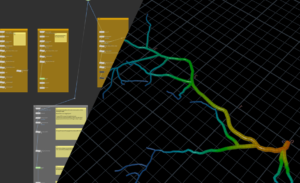
You create a “chopnet” and inside you pass the geo SOP path, and what attribute or channel you want to affect. I’m pretty sure I googled around this as it was a bit different from normal Houdini but it was understandable enough. This was enough to get things working, and there is a handy “spring” node already provided.

Oh and another important part – reading that channel result back into the SOP with a ‘channel’ node like this:

There is some funky algebra there, the t[xyz] means translation, x,y,z because you can filter and swizzle things in reading back the channel data. Quite flexible and smart and I am sure there are CHOPs ninjas out there who can do crazy things with it.
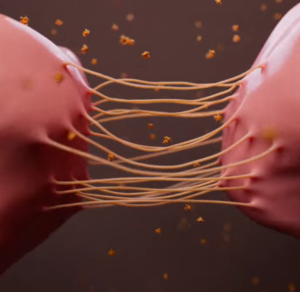
And what does this spring CHOP thing actually do?
Nice little wiggle for (almost) free.
So there are the little blobs also, and I was excited about chops for some reason, so to avoid sims and all that cache wrangling I wondered what might be achievable. Chops works on channels, so anything in a node could maybe be driven or modified by chops? And we have bend, twist and other deformation nodes, so…

A couple of nodes with some simple keyframed animation and We have something.

This is a little bit fiddly but I will explain the key points:
- Multiple inputs! This is a weird thing to me even now, but you can have any number of inputs to a for each loop, all doing different jobs.
- In this case we have B: set to ‘extract piece or point’
- We have A: set to ‘fetch input’ (the blob geo)
- The output is ‘merge each iteration’
- The copy to points is default except we add ‘offset’ attribute which is sent through the points (this is the ‘wipe’ effect’s attribute which drives it.
- There’s a timeshift node there, and it is connected with a spare input linked to B: This lets us set the timeoffset ‘Frame’ parameter to this expression: $F+point(-1, 0, “offset”, 0)
- This makes each copy get its input from a different frame – and it works!